
Crimson Feature of the Month: How to Organize Your Data in Crimson
Since it's the beginning of a new year and a new election cycle, this is the optimal time to review your Crimson data and potentially clean it up. In order to maximize the features in Crimson, take a few minutes to learn about the fundraising code types and their hierarchy in Crimson.
Understanding the difference between Program Codes, Initiative Codes and Source Codes can help you better organize data so that you can find what you need in the future. Scroll down to learn how to set up and edit each of these codes. You can also download a one-page overview to use as an easy reference.
How Crimson Data is Set Up:
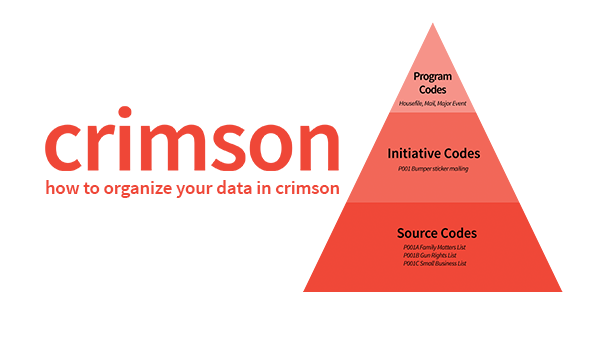
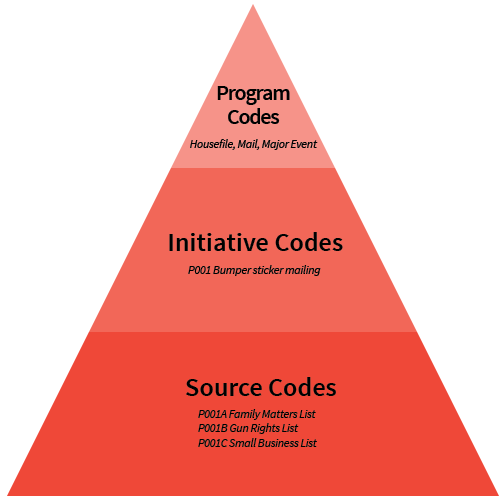
Data in Crimson is set up in a three-level hierarchy:
1. Program: This code identifies broad channels or categories of fundraising.
Example: Housefile mail, prospect mail, telemarketing, online, major donor, or event.
3. Initiative: This code refers to every housefile and prospect appeal sent from your campaign. Each mailing, email, event, or other type of appeal should receive a unique Initiative Code.
Example: P001 would be prospect sent the education mailing
4. Source: This code identifies individual segments within an Initiative. With a prospect appeal, the Source Code would refer to the list that you rented, and the code for a housefile appeal would refer to a specific segment, such as donation level or geographic area. To make events easier to manage, give each of them a unique Source Code. This will help you track the donations made at each event.
Example: P001A Family Matters List, P001B Clark County Republicans & P001C Candidate Contact List
Remember: Every Source Code is linked to a broader Initiative code and an even broader Program code. However, Crimson will only require you to select a Fund Code and Source Code when entering or loading a gift.
What about Fund Codes?
Fund Codes are the top category to organize all other data. For campaigns, each election and cycle should have its own code, such as P2024 (Primary 2024) or G2024 (General 2024) to help with data analysis and FEC reports. Because these should be limited and strategically created, please contact Crimson Customer Support to add or edit them.
How to Create & Edit Program Codes
1. To set up a new Program Code, (a) click on the Fundraising menu on the left-hand side of your Crimson dashboard and then the (b) Settings icon in the navigation bar.

2. In the next window, options to manage Program, Initiative, Source, Fund, Revenue, and Project/Event Codes will appear with multiple options.

a. Program Tab: this is the default, so a list of existing Program Codes will be displayed upon opening the settings.
b. Click here to add a new Program Code.

c. Search Code, Description: use this field to look up a Program Code by name.
d. Click the blue button to edit an existing Program Code.

e. Click the red button to delete a Program Code.

How to Create a Program Code
1. From the Program Tab, click on the Add button.
2. Enter the name of the code, a description, and the type of program under the Program Group ID — Direct Mail, Telemarketing, Digital, and Major Donors.

3. Click on the blue Save button to add the Program Code.
How to Create & Edit Initiative Codes
Since all gift data requires a Source Code, they must be set up before any contributions are added. There are two ways to set them up – manually enter or import into Crimson.
Remember that each Source Code must be linked to an Initiative Code, and each Initiative Code must be linked to a Program Code. Before you set up your Source Codes, please review how your data is ordered to follow any naming conventions that your organization has established.
Set Up Initiative Codes
1. To set up a new Initiative Code, click on the Fundraising menu on the left-hand side of your Crimson dashboard and then the Settings icon in the navigation bar.
2. Select the Initiative Tab. From this tab, you can search for an existing Initiative or add a new one by clicking on the blue Save button.

3. Enter your Initiative Code and add a description. Then use the drop-down menu under description to connect the Initiative Code to the right Program Code.

Note: You can also select Initiative Type and enter a Note, but this field is not required.
4.Once the blue Save is clicked, several options will appear:

a. Click this button to return to the previous window and edit the Initiative Code.

b.Click this button to go to the import tool and upload a CSV file.

c. If the Initiative is new and only needs one Source Code, click on to create one with the same name as the Initiative Code. The Source Code information will be displayed under the tab.

d. Click this button to look up an event by keyword or name. Once you find the correct event, click on the check button to link them.

How to Edit Initiative Codes
1. Go to the Initiative Search under Settings in the Fundraising Dashboard. In the search bar, enter the Initiative Code you wish to edit. It will appear below.

2. Click the blue Edit button to open it or the orange guage button to open the Response Analysis tool and build a Bluebook.

3. Once the Initiative Code is open, additional options will display.

a. Fundraising tab: This section displays the funds raised and counts from the Initiative.
b. Source Codes: This section shows all the Source Codes linked to the Initiative.
c. The drop-down menu allows you to select which time frame you wish to see data.
d. Overview Data: See the topline data for this Initiative Code.
e. Response Analysis: click here to create a Bluebook with the data from the Initiative Code.
How to Add and Edit Source Codes
Enter Source Codes Manually
If you only need to add a few Source Codes, there are two ways to manually enter them.
● Option 1: Once you set up your Initiative Code, click on the Create Single Source Code button. A new Source Code will appear under the tab.

● Option 2: Return to the Settings section under the Fundraising Dashboard and click on the Source Tab. Click on the button.
Once you enter the information to set it up, click on the blue Add button.

Import Source Codes
1. Before importing your Source Codes, please download our template from the Helpdesk. This template is a spreadsheet that contains the required fields — Source Code and Source Description.
2. Confirm that the correct Initiative Code has been entered into Crimson.

Note: Make sure you only have one worksheet named Source saved in your Excel file.
3. From the Initiative Tab, select the Initiative Code to which you want to add the Source Codes and click on the blue Edit button.
4. Once the Initiative Code opens, click on the blue Import Source Codes button. The import tool will open. Follow the steps to upload your CSV file and click on Save.
5. Your Source Codes should be uploaded and saved in Crimson.