
Crimson Feature of the Month: Attributes
Attributes, found on People Records, help categorize or track information about donors, volunteers, or stakeholders on the profile. This feature is helpful to track volunteer hours, major donors, and anything else your organization needs to record. Attributes are completely customizable so you can quickly identify the label on each record or profile in your Crimson account.
There are two steps to creating an Attribute in Crimson:
1. First you need to create the Attribute Category. This displays the nature of the Attribute, such as volunteer, board member, major donor.
2. Then you create the Attribute under each Attribute Category. For example:
Category: Volunteer
Attribute: Event, Phone call, Door knocking, Lit Drop
How to Set Up and Use Attributes
Set up Attribute Codes and Categories:
1. From the main menu, click on the People Dashboard and the settings icon.

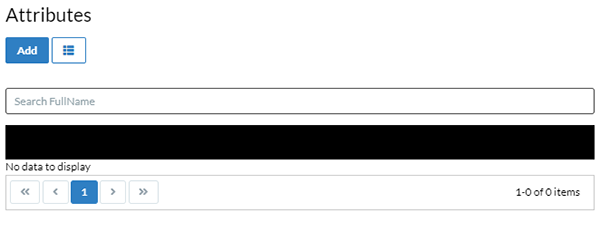
2. Click on the Attributes tab. The existing Attribute Categories will be displayed. If the Attribute Category you need already exists, skip to Step 6.

If you want to see a list of all the existing Attributes, click on the blue Show All Attributes button.

3. Click the Add button to set up a new Attribute Category.
4. Fill out the field for Attribute Category and select a Labeling Order.

Note: Labeling will determine how the Attribute is displayed elsewhere in Crimson. For example, “Category – Attribute” will always put the Attribute Category first, followed by a hyphen and then the Attribute (eg Volunteer – Phone Banking).
5. Click Save when done.
6. To add the Attribute, first select the Category you want the Attribute under. Click on the blue Edit button.

7. Click on the blue Show Attributes button in the Edit Attribute Category Window.

8. Click the blue Add button.
9. Complete the Attribute name. You can also add a Note for additional information.

10. Click Save when finished.
Adding Attributes to People Records
1. From the People Profile, you can assign Attributes by clicking on the Code panel.

2. Below the People Record, the Code panel will expand. Select the Attribute Tab.
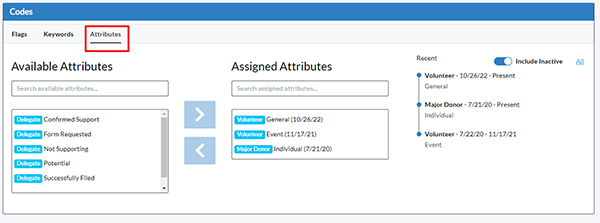
3. Move the Available Attributes to Assigned Attributes by selecting the desired Attribute and clicking the arrow to move them to the right. The item in blue is the Attribute Category.
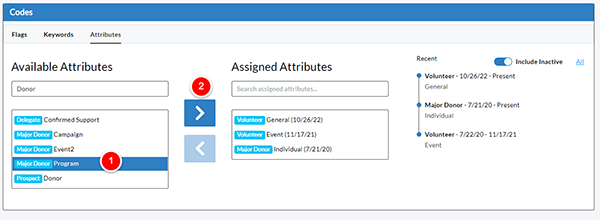
Note: If you wish to unassign an Attribute, reverse the above steps by selecting the Assigned Attribute and clicking on the arrow pointing to the left.
4. Once an Attribute is assigned, it will be added to the Recent list on the right. You can select the toggle to display inactive Attributes.

5. Click on each Attribute under the Recent column to open additional information about the Attribute. From here, you can adjust Start and End Dates.

Note: The Attribute will default to Active or Inactive depending on if there’s an End Date and if that date has passed. You can override this by clicking the toggle.
6. To view all assigned Attributes in a list, click the All link in the top right of the Recent column. From there, use the filters to sort, delete, or open Attributes for editing.

For more information on how to use Attributes in Mass Append or Importing New Contacts, see the Crimson Helpdesk.